When I began exploring 3D modeling for jewelry, I immediately became fascinated with the idea of creating my own brand. Although I knew how to market a jewelry line, I had many questions about the production process itself. The first question was: how can I make jewelry at home, and what tools and materials do I need to get started?
What Do You Need for a Home Jewelry Workshop?
As a complete beginner, I decided to sign up for a basic jewelry-making class to get an insider’s look at how jewelry is made by hand and what tools are required. The class I took was called “Ring with a Stone,” and it gave me valuable insight into the process of creating a simple silver ring. Here’s what I learned.
Step 1: Choosing the Material and Preparing the Metal Blank
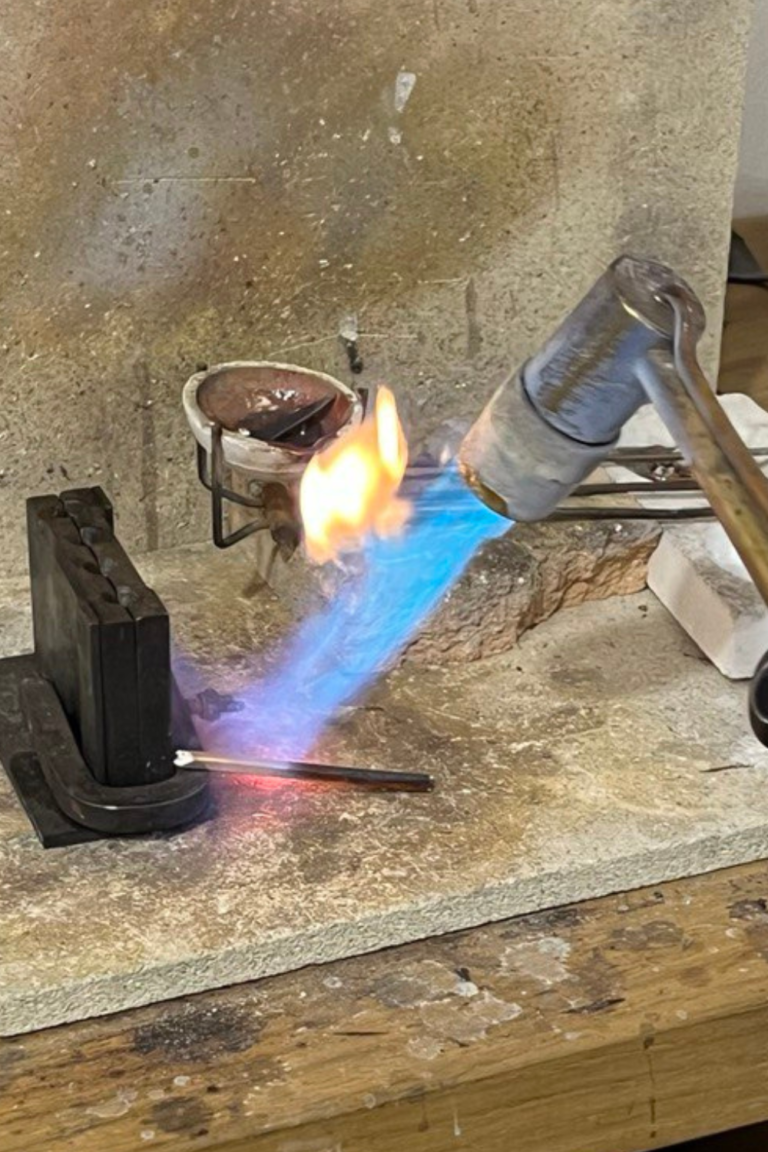
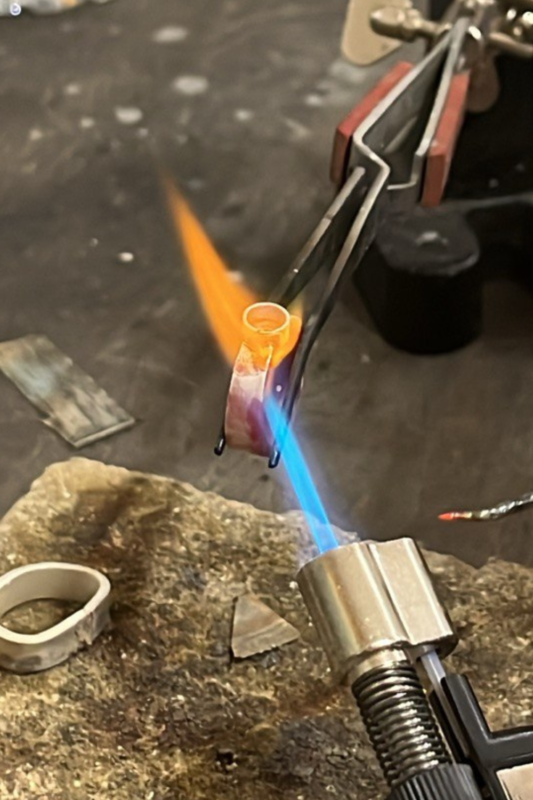
The first thing you need to do is decide on the material for your piece. I chose 925 sterling silver for my ring. To prepare the silver, we heated a crucible to around 200 degrees Celsius, added flux to prevent oxidation, and melted pure silver inside. We then added copper to achieve the desired sterling silver alloy. Afterward, the molten metal was poured into a mold to solidify into a blank, which we would later shape into the ring.
For this step, we used the following jewelry-making tools:
- Crucible: A container to melt the metal.
- Mold: Used to shape the molten metal into a solid form.
- Flux: A chemical compound that helps prevent metal oxidation.
- Torch: To heat the metal to the required temperature.
- Tongs: For handling hot materials.
Step 2: Shaping the Ring Shank
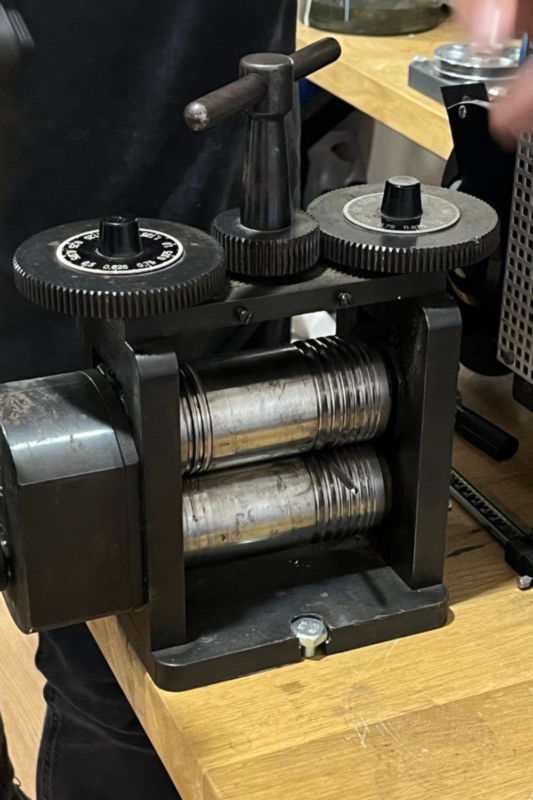
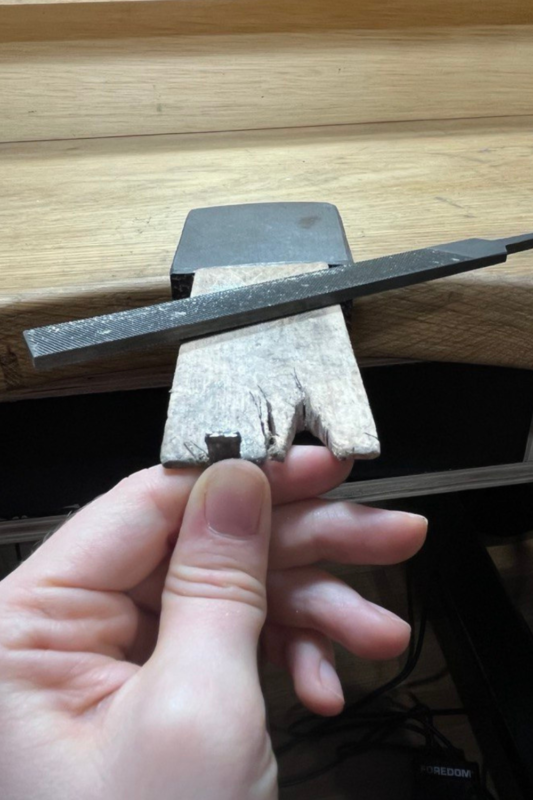
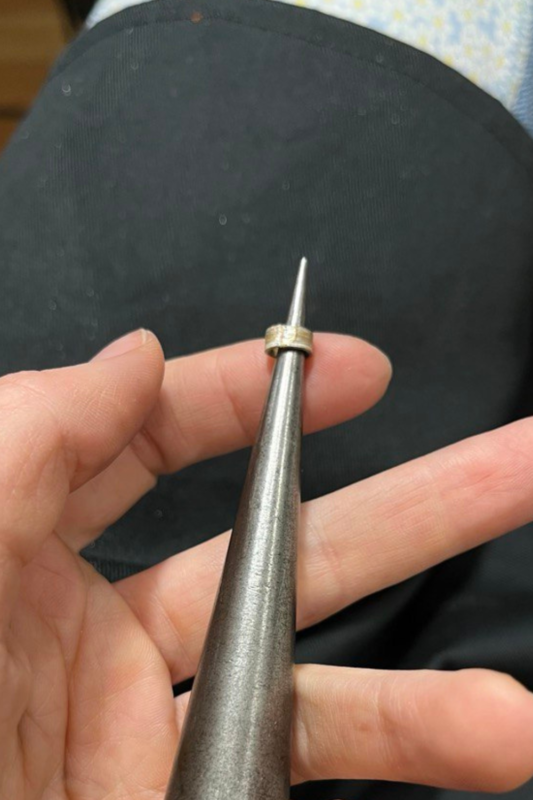
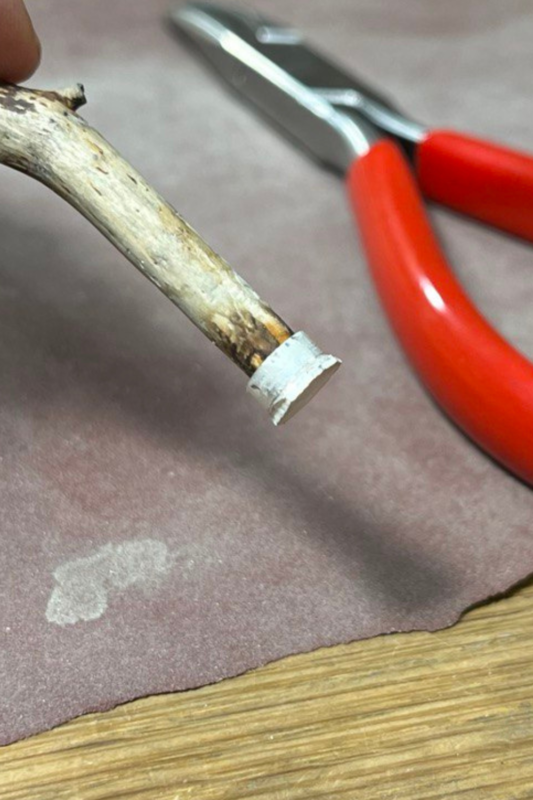
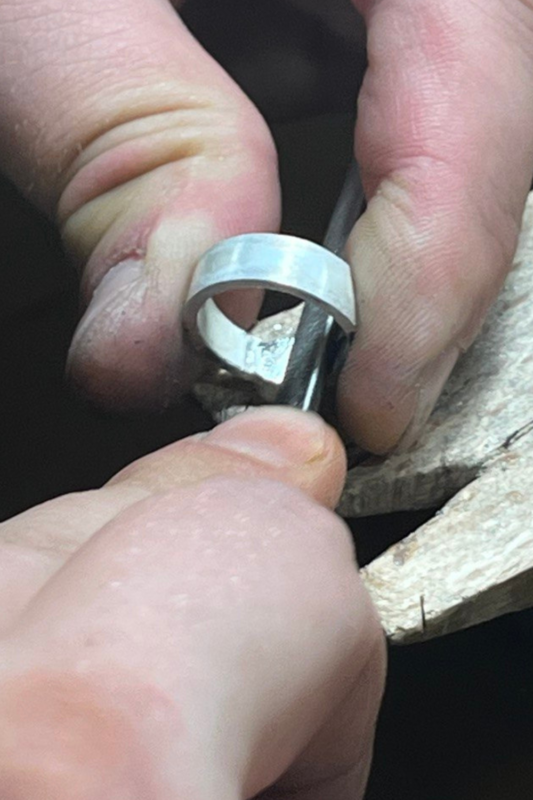
Next, we prepared the ring’s shank, which is the circular band part of the ring. Since I was making a simple design, this process didn’t take long. We used a rolling mill to reduce the metal to the desired thickness, filed the edges to smooth them out, and shaped the ring using a mandrel and a mallet. Once the basic shape was complete, we used files and sandpaper to refine the surface.
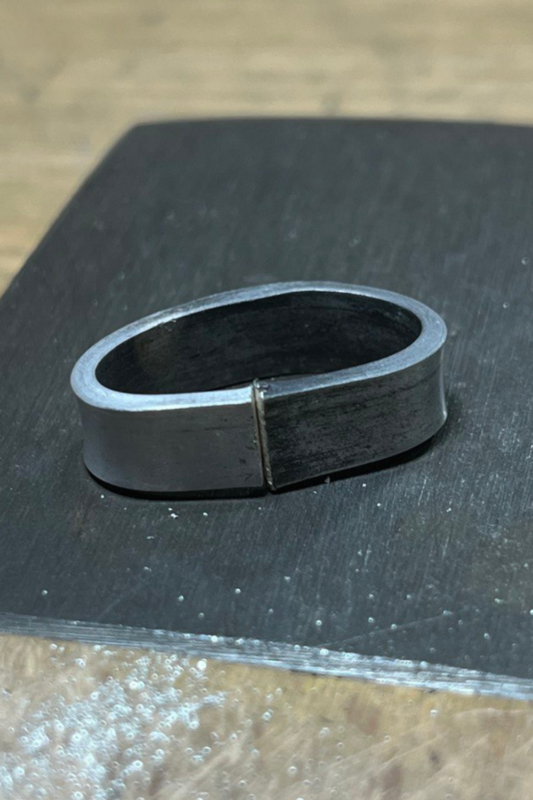
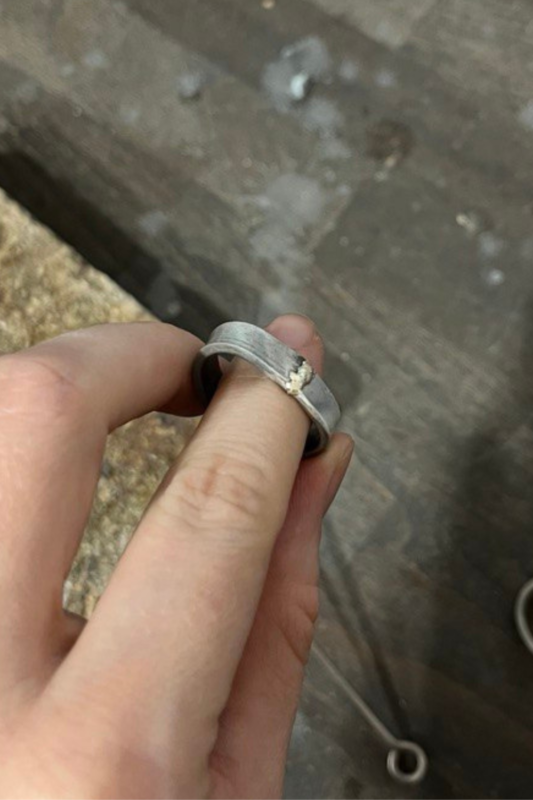
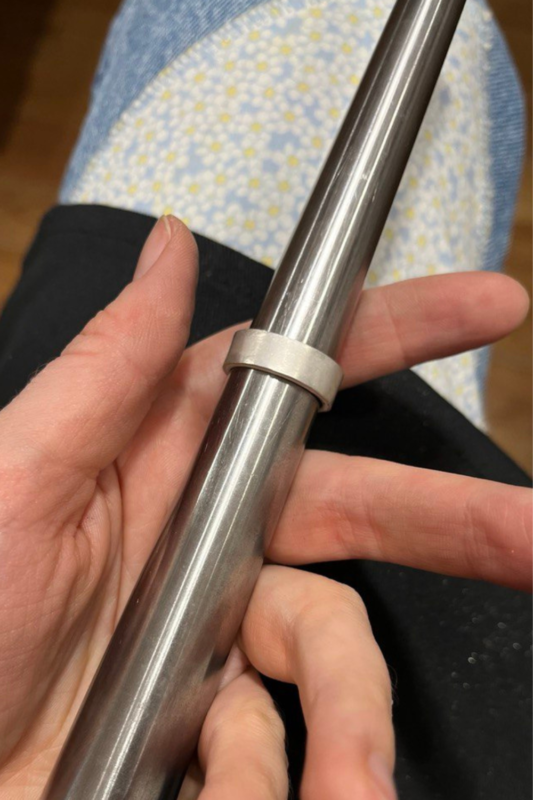
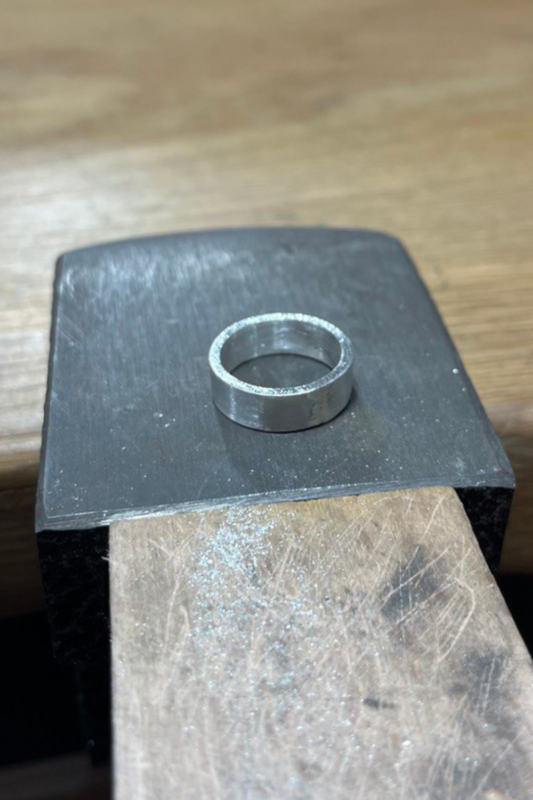
The tools needed for this step were:
- Rolling mill: A tool that helps flatten and thin the metal to the required thickness.
- Mallet: Used for shaping the ring without damaging the metal.
- Mandrel: A tapered tool used to shape and size rings.
- Files: For smoothing the edges and shaping the metal.
- Sandpaper: Used to refine the surface and prepare it for polishing.
TStep 3: Making the Setting for the Stone
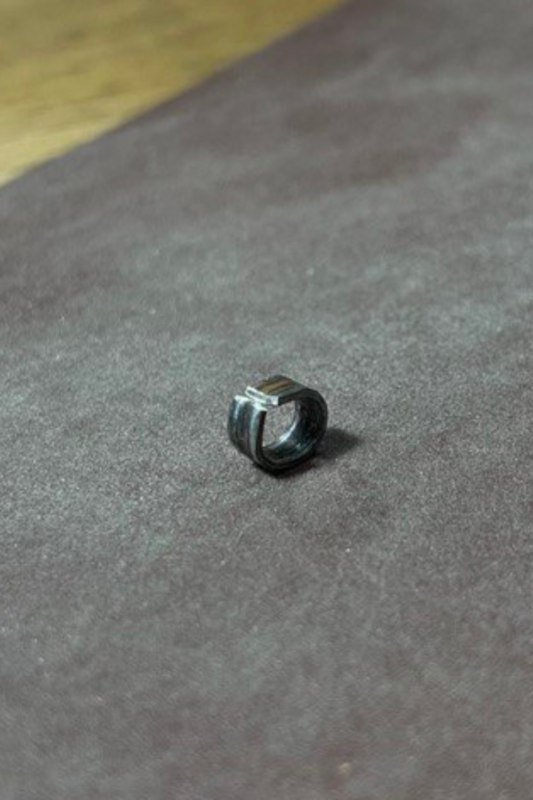
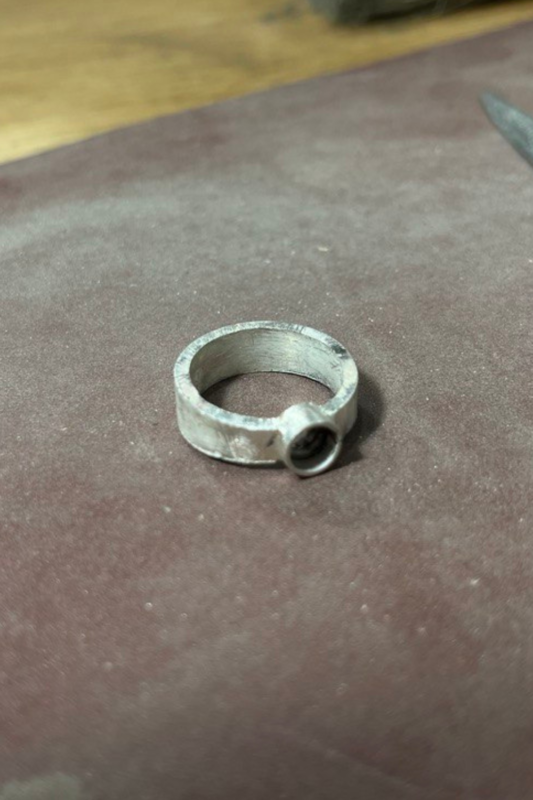
Since I planned to make a ring with a stone, I needed to create a setting for it. After choosing the stone, we measured its size and created a bezel setting—a metal rim that holds the stone in place. We followed a similar process to making the shank but added a small base to the bezel to ensure the stone wouldn’t fall out.
For this step, the same basic tools were used, but we also needed to solder the bezel to the shank. Once the setting was complete, we cut a space in the ring’s shank to fit the bezel, secured the stone, and moved on to the finishing stage.
Step 4: Final Finishing and Polishing
Finishing is crucial at almost every step of jewelry making, but the final polishing is what brings the piece to life. Various files and sandpaper sizes are used throughout the process to smooth and shape the piece, but a rotary tool is essential for achieving a professional, polished finish. This tool, along with polishing compounds, helps create that perfect shine.
For the final finish, you will need:
- Rotary tool: A versatile tool for sanding, grinding, and polishing.
- Polishing paste: Used to give the metal a shiny, smooth finish.
- Sanding bits: Attachments for the rotary tool that help with detailed finishing.
And that’s it!
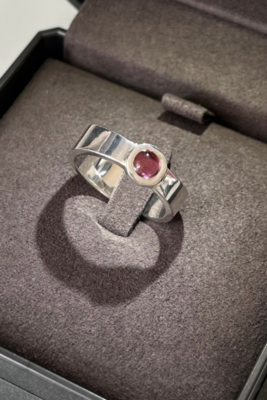
Here’s the finished handmade silver ring with a stone, ready to wear. Whether you’re making a simple ring or a more complex design, having the right tools and following these steps can help you create beautiful handmade jewelry.
